
You’ve carefully designed your Stories and Highlights to reflect your personality or brand — only to notice your Instagram highlight cover looks blurry or your Instagram highlights are low quality. It’s disappointing and can make your otherwise polished profile look sloppy.
Highlights are central to Instagram profile optimization: they showcase your best content, help new visitors get to know you quickly, and can even influence someone’s decision to follow. If your Instagram highlights are not loading, fuzzy, or pixelated, you’re not alone — this is one of the most common issues creators face.
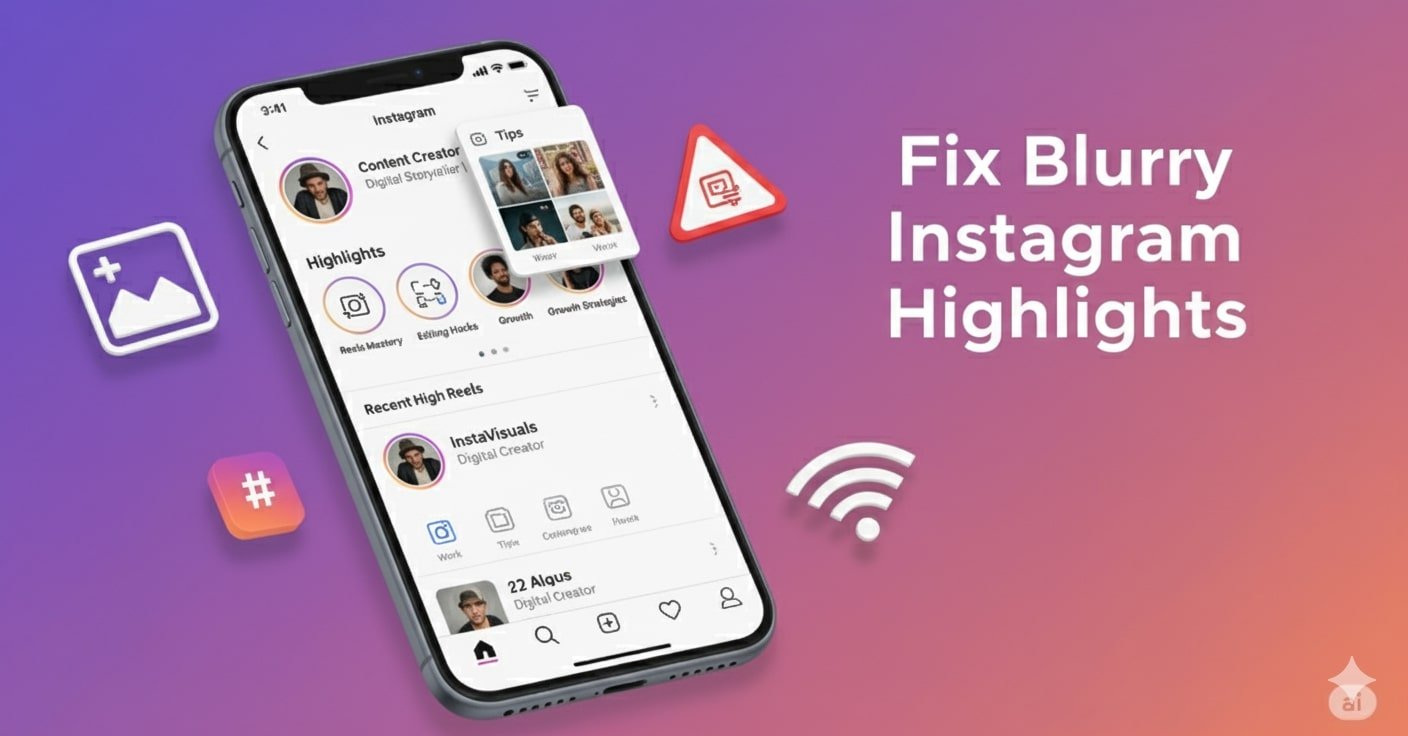
In this guide, Instagram Geek explains why Instagram compresses highlights, how to fix them, and how to make Instagram highlight pictures clear in 2025. By the end, you’ll know the best Instagram highlight settings to keep your content sharp and professional.
Quick Summary Table: Main Causes and How to Fix Blurry Instagram Highlights Fast
| Cause | Immediate Fix | Prevention |
| Story archive compression | Re-upload with higher quality | Use recommended highlight dimensions (1080×1920) |
| Low-res upload or bad internet | Replace with HD version | Upload on strong Wi-Fi/5G |
| Wrong dimensions (e.g., screenshots) | Resize to 1080×1920 | Stick to 9:16 ratio |
| File format issues (JPG) | Use PNG for highlight covers | Prefer PNG vs JPG highlight covers |
| Data Saver / wrong app settings | Enable Upload at highest quality Instagram setting | Check Instagram media quality setting often |
| Poor camera/editing | Use native camera, avoid over-filters | Shoot high-res, edit lightly |
| Outdated app/device cache | Update app, clear cache | Keep Instagram & OS current |
| Instagram glitches/compression | Wait, re-upload | Follow Instagram policy updates |
Why Do Instagram Highlights Get Blurry?
Instagram Highlights get blurry mainly because of compression, wrong file sizes, or low-quality uploads. If you upload Stories in poor resolution, use screenshots instead of proper 1080×1920 highlight covers, or forget to enable upload at highest quality Instagram settings, the platform will downgrade them. Over time, story archive compression also makes story highlights blurry months later.
Now, let’s dive deeper into the detailed reasons why Instagram Highlights look blurry.
Top Causes – Why Instagram Highlights Get Blurry in 2025
A. Archived Story Compression
Instagram often downgrades older Stories in the archive. This story archive compression means when you add them to Highlights later, you might find your story highlights blurry months later.
Why do my Instagram highlights turn blurry after a few months?
- Instagram sometimes retroactively compresses archived Stories, causing story highlights blurry months later.
- Platform-wide updates or changes to Instagram’s compression algorithm can also temporarily reduce highlight clarity.
- Low-resolution original uploads, over-editing, or repeated screenshot saves contribute as well.
B. Original Upload Quality
If your original Story was uploaded in poor internet conditions, the blurry result carries over. This explains why you see blurry Instagram stories in highlights.
Also Read: Can’t Scroll on Instagram? Here’s Why and How to Fix It
C. Non-Optimal Image/Video Dimensions
Highlights must follow the recommended highlight dimensions: 1080×1920 pixels, 9:16 ratio. Uploading screenshots, cropped images, or anything smaller will almost always give you Instagram highlights low quality.
Also Read: Instagram Post Could Not be Shared (Error Fixed)
D. File Format Issues
The difference between PNG vs JPG highlight covers is significant. JPG compresses aggressively, which is why a blurry Instagram highlight cover happens more often with JPEG. PNG keeps edges sharper.
E. Instagram App/Data Saver Settings
Check your Instagram media quality setting:
- Go to Profile → Menu → Settings & Activity → Data usage and media quality.
- Toggle ON: Upload at highest quality Instagram option.
- Toggle OFF: Data Saver.
Without this, even sharp designs will appear compressed.
F. Phone Camera & Editing Practices
Low-quality phone cameras, over-editing, or multiple screenshot saves reduce clarity. Remember: Instagram compresses highlights further, so start with the cleanest source possible.
G. Device/Instagram Bugs or Outdated App
Sometimes Instagram highlights not loading or appearing fuzzy comes down to app bugs. Always update your app and OS, and clear cache.
H. Platform-wide Compression/Update Issues
Even with perfect practices, Instagram occasionally adjusts its compression algorithm. When Instagram compresses highlights, everyone is affected temporarily.
Step-by-Step Solutions: How to Fix Blurry Highlights Now
If your Instagram highlights look blurry, don’t worry — most of the time, it’s easy to fix by following the right upload settings and file practices. Below are the proven solutions that will make your highlight covers and Stories look crisp again.
1. Enable High-Quality Uploads
Instagram often compresses content by default to save data. You need to manually enable the highest quality upload setting.
How to do it:
- Open Instagram and go to your Profile.
- Tap the Menu (☰) → Settings & Activity.
- Under Data Usage and Media Quality, enable Upload at highest quality.
- Make sure Data Saver is turned OFF.
👉 This ensures that every photo, video, and highlight cover you post will be uploaded in the sharpest possible format.
2. Use High-Resolution Photos/Videos
The most common cause of blurry highlight covers is using images that don’t match Instagram’s requirements.
✅ Best resolution: 1080 x 1920 pixels (9:16 aspect ratio).
❌ Avoid using screenshots, cropped images, or downloaded content — these are usually lower quality.
If you’re editing designs (like aesthetic highlight covers), always export at full resolution before uploading.
3. First Add as Story, Then Highlight
Here’s a trick: upload your image or video to Stories first, and then add it to Highlights.
Why? Instagram optimizes Stories differently from direct highlight uploads. By posting as a Story first, you reduce the chance of quality loss or pixelation.
Also Read: Why Does Instagram Say “This Story Is Unavailable” – What To Do?
4. Use Correct File Types
Not all file formats are treated equally by Instagram:
- PNG (Best): Keeps edges sharp and details clear → perfect for highlight covers.
- JPG (Risky): Gets compressed heavily → often results in a blurry Instagram highlight cover.
If you’re creating covers in Canva, Photoshop, or Illustrator, always export them as PNG files.
5. Update App & Device, Clear App Cache
Sometimes, the problem isn’t your file — it’s the app itself.
Fix it by:
- Updating Instagram to the latest version.
- Restarting your device.
- Clearing Instagram’s cache (on Android: Settings → Apps → Instagram → Storage → Clear Cache).
This helps fix Instagram highlights not loading properly or looking fuzzy due to temporary glitches.
6. Check Internet Connection
Uploading on a weak network often leads to pixelated, incomplete uploads.
- Always use a stable Wi-Fi connection or fast mobile data when posting.
- If your upload fails midway, delete and re-upload once your internet improves.
7. Replace Blurry Highlight Covers
If your current highlight covers already look bad, replace them with sharper versions.
Steps to update highlight covers on Instagram:
- Long-press the Highlight you want to edit.
- Select Edit Highlight.
- Tap Edit Cover.
- Upload a crisp PNG image at the recommended size (1080×1920).
- Save changes.
This instantly refreshes your highlight design and makes your profile look polished again.
Pro Tips to Prevent Blurry Highlights (2025)
Fixing blurry highlights is one thing, but preventing them from happening in the first place is even better. By following a few simple design and upload practices, you can make sure your Instagram highlights always stay sharp and professional.
1. Design with the Right Specs
Always start with the correct canvas size: 1080 x 1920 pixels, 9:16 aspect ratio.
Whether you’re designing highlight covers in Canva, Photoshop, or Illustrator, this is the optimal resolution Instagram expects.
📌 Why it matters: Non-optimal sizes (like square images or smaller crops) get stretched, leading to Instagram highlights low quality.
What’s the recommended highlight cover size and format?
- Recommended highlight dimensions: 1080×1920 pixels, 9:16 ratio.
- File format: PNG is preferred over JPG to keep edges sharp and colors vibrant.
- Using screenshots or small images usually leads to Instagram highlights low quality or a blurry Instagram highlight cover.
2. Save in PNG Format
When exporting your highlight covers, choose PNG over JPG.
- PNG: Keeps colors rich and lines sharp → best for icons, text, and aesthetic highlight designs.
- JPG: Compresses aggressively → often results in a blurry Instagram highlight cover.
This simple step can dramatically improve clarity.
3. Check Your Instagram Highlight Settings
Go to: Profile → Menu → Settings & Activity → Data Usage and Media Quality.
- Turn ON: Upload at highest quality Instagram.
- Turn OFF: Data Saver.
👉 These are the best Instagram highlight settings to ensure your uploads aren’t downgraded during posting.
4. Preview Before Publishing
What looks good on your phone might not look the same on another device. Before finalizing, check how your highlight covers appear on:
- iPhone and Android devices.
- Older and newer screens.
- Both light and dark mode.
This helps you spot any blurry Instagram highlight cover issues early.
5. Keep Editing Light
Instagram already compresses media, so avoid over-editing your images with too many filters, resaves, or heavy effects. Each time you export and re-save, quality drops.
📌 Rule of thumb: Always upload the cleanest, highest-resolution version possible.
6. Stay Updated on Instagram Changes
Instagram regularly tweaks its media compression algorithms. Sometimes, even perfect uploads look fuzzy after an update.
- Always keep your app updated.
- Follow official Instagram announcements.
- Revisit your highlights every few months to check for story highlights blurry months later.
As InstagramGeek’s troubleshooting guides often remind readers: prevention is easier than repair. By sticking to these practices, you’ll consistently upload high quality Instagram highlights that make your profile look sharp, polished, and professional.
Frequently Asked Questions
Adding multiple Highlights generally does not trigger compression.
Only extremely large media libraries may occasionally affect upload performance.
Regardless of the number, enabling Upload at highest quality Instagram helps maintain clarity.
Yes. PNG keeps lines and text crisp, whereas JPG compresses aggressively.
Choosing PNG can prevent a blurry Instagram highlight cover and ensures your highlights look sharp across devices.
Absolutely.
Weak connections can cause pixelated or incomplete uploads.
Always enable Upload at highest quality Instagram, disable Data Saver, and use a strong Wi-Fi or fast mobile data.
Steps to refresh your highlight covers:
Long-press the Highlight → Edit Highlight
Tap Edit Cover
Upload a crisp PNG at the recommended highlight dimensions
Save changes
This instantly improves your profile’s appearance without losing highlight content.
Yes. Display differences exist due to screen size, resolution, and color calibration.
Always preview your highlight covers on multiple devices to ensure they look sharp and professional.
It depends on the original Story quality, upload conditions, and whether Instagram applied retroactive compression.
No—quantity doesn’t affect quality. But cluttered highlight sections can hurt Instagram profile optimization visually.
Conclusion
Blurry Instagram Highlights are frustrating, but in most cases, they’re easy to fix once you understand the causes. From story archive compression and low-resolution uploads to incorrect highlight cover sizes, file formats, and app settings, each factor can impact your Instagram highlight quality.
The key takeaways:
- Always use high-resolution photos and videos (1080×1920, 9:16 ratio) and PNG covers for maximum clarity.
- Enable Upload at highest quality Instagram and turn off Data Saver in your app settings.
- Upload content to Stories first, then add to Highlights to reduce compression loss.
- Keep editing minimal, preview on multiple devices, and stay updated with Instagram’s media handling changes.
By following these steps and pro tips, you can ensure your profile looks professional, polished, and visually consistent. As InstagramGeek emphasizes, prevention is always easier than repair — setting up your Highlights correctly from the start saves headaches later.
